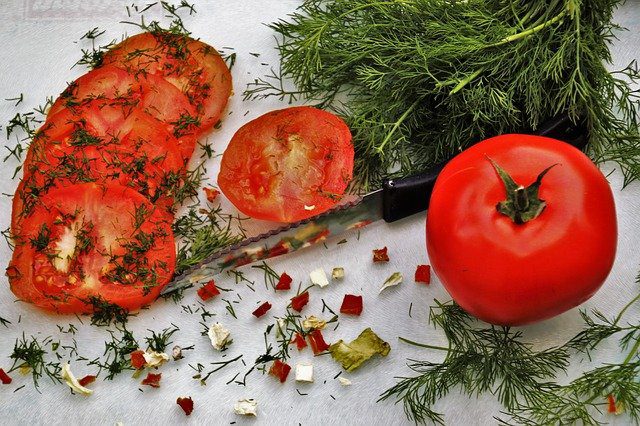
Sometimes, a plant is used in several ways in the culinary industry. For example, rosemary seeds are used as a spice in the foods, while the herb helps to add aroma and flavor to the dish. Similarly, dill is also used dually- the weed is used as an herb, and the seed is ground and then used as a spice in combination with others. This particular herb has become quite famous over the last few years, thanks to the fact that it adds an earthy flavor and fragrance to the dishes. Since using fresh dill can become a bit difficult, people are looking for ‘how to dry dill’ at home.
In this article, we will be discussing various things about this plant, starting from its origin to the benefits of dry dill weed. So, without wasting any more time, let’s start the discussion!
Table of Contents
Dill Plant- The Basics
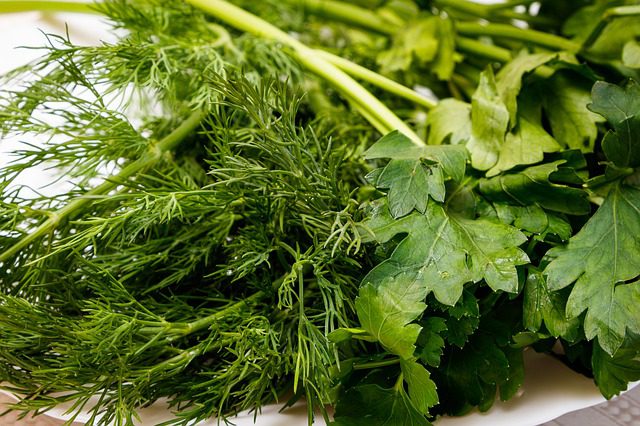
If you like to eat celery, you must find a resemblance in the dill’s taste profile. After all, this plant belongs to the celery family of annual plants. The plant is cultivated widely in most of the European and Asian countries. As a result, the herb is used in the Eurasian cuisine, be it an Italian seasoning herb or in the Thai spice section.
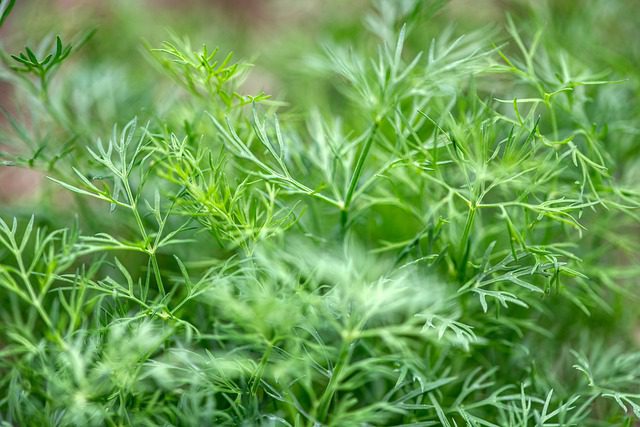
You will see that the leaves are grown in bushes if you look at the plant, having thin width and medium length. They form clusters around the stems, making it very difficult to use them as a single herb stalk. So, if you want to use it in a stored form, you need to learn how to dry dill most effectively.
How To Dry Dill?
Since dill is one of the fresh herbs that you can find in the market, you will want to learn more about how to dry dill easily at your home. Here, we have discussed the best five methods of drying dill weed without losing its fragrance or flavor. So, let’s start!
Freeze-Drying Dill
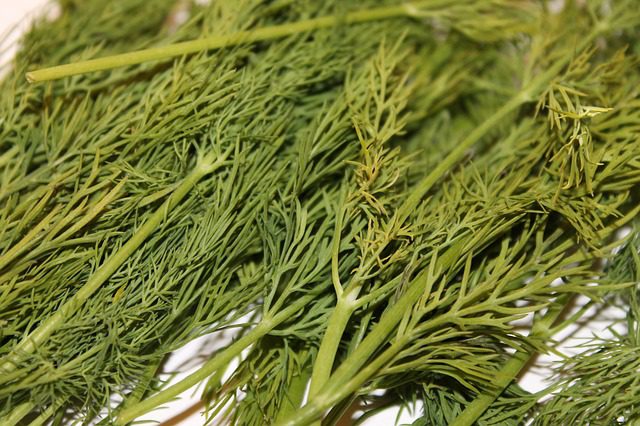
The freeze-drying method is one of the best ways of drying fresh dill. Here, you need to make sure you are gathering up fresh stalks of the plant, having many green leaves with flower buds. Here are some of the ways with which you can dry dill.
- First, collect the fresh stalks from the market or your garden plant. Once done, you need to dust away from the dirt or any other insect and bugs from the plant stalks. If not, then these will contaminate the plant and degrade its quality.
- Next, either hang it upside down from any rope in an open, warm area or place the stalks on a bunch of paper towels and leave it as it is. Leave the arrangement for a couple of days, provided the weather remains sunny and warm, with less humidity or probability of rain. Ensure that you aren’t leaving the herbs to get dried completely, which will turn them crisp. All you need is the loss of moisture by eighty to eight-five percent.
- Wash the dried dill with normal water, without causing the leaves to fall off during the process. Dry the dill between paper towels carefully such that the pressure wouldn’t break off the stalk or the stem. Once dried, place the dill in an upright position inside the airtight container. This will help you to maintain the perfect shape of the stalk and the leaves.
- Close the lid of the container tightly, making sure that no gap is there. Even if there is the slightest gap, moisture will enter the container, hampering the entire drying process.
- Leave the container inside the freezer, right below the air vent to receive the cold air directly. You will have to leave the herb inside and only use it when needed.
Dehydrating Dill In The Dehydrator
A dehydrator is a special device that helps you dehydrate various kinds of raw ingredients like fruits, vegetables, herb, etc. They almost work like a microwave oven, having multiple trays that can be inserted at once. Many machine settings will give you enough options to dry the dill in the best possible manner. Here are the steps of how to dry dill using a dehydrator machine.
- First, you need to collect fresh stems having green, vibrant leaves with the seeds. Ensure that the stalks do not contain any dirt or plant bugs before you use them in the dehydrator machine.
- Next, wash the stalks with normal water thoroughly and then dry them using a paper towel. When you will dry the stalks, make sure you aren’t pressing too hard since that might damage the leaves and the stalks.
- Now, separate the leaves and seeds from the stem carefully such that the shape of the dill leaves remains intact. The leaves are tiny and thin, and hence you will need a parchment paper to protect them from falling off the dehydrator tray.
- After putting the parchment paper over the tray, place the leaves and the seeds carefully on the paper in a single layer. You need to maintain this single layer since it will allow the heat to pass through the leaves in the best possible way. If you want to know how to dry fresh dill in a considerable volume, you will have to use multiple dehydrator trays simultaneously.
- Set the dehydrator’s temperature up to ninety-five degrees and leave the machine’s trays for around four to six hours.
- Once the timer goes off, take the trays out and check whether the leaves are crumbling just at a simple touch. If yes, then you have successfully dried the dill leaves and seeds.
- If you want to use the dried herb in the leafy form, store the entire content in an opaque, airtight container. However, if you are looking forward to making a powdered form, put all the dried content into a food blender and make it.
- Once you have blended the herb into a fine powdery form, you can transfer the entire content in an opaque container and close the lid carefully, without leaving any gap. So, this is how to dry dill in a dehydrator.
Using the oven to dry the dill
For some people who do not have a dehydrator machine, you need to look for the oven. Drying dill in oven is one of the best ways to prepare the herb’s crispy form efficiently. Here is the entire description of how you can use the appliance to dry your dill stalks.
- Collect the fresh stalks from the garden plant and remove the dirt and insects first. Once you are certain that every speck of soil has been removed, wash the stalks with clean water and then press them between paper towels to dry off the excess water. While using the paper towel, be sure that you aren’t putting too much pressure since that will damage the fresh stalks.
- Once the paper towel will soak off the entire moisture content, separate the leaves and the seeds from the stalk carefully. The leaves shouldn’t break under the pressure of your fingers because that would make the resultant herb look less beautiful.
- Place a parchment paper or a butter paper over the oven trays. After securing it, spread out the leaves and the seeds evenly on the paper. Ensure you are making a single layer since clusters might cause uneven heating, thereby leaving rooms for mistakes.
- Put the trays inside the oven and set the temperature to at least a hundred and ten degrees Fahrenheit, the oven’s lowest setting. Close the door completely and then set the timer to two to four hours maximum.
- During every thirty-minute interval, open the door and check how far the drying process is. After the timer goes off, take out the tray and check whether the leaves have turned crisp and brittle or not. If not, you need to place the entire content again inside the oven and heat it for another fifteen to thirty minutes.
- Take out the tray and then separate the seeds and the leaves. The seeds can be blended in a powder form to be used as a spice. The leaves, on the other hand, can be used as a herb. You need to store both these elements in a non-transparent, airtight container and keep it away from direct sunlight. This is the method of how to dry dill using an oven.
Dried Dill In A Microwave
The next method of how to dry dill is the microwave-drying technique. Since you use the appliance almost regularly, there is no need to explain its functions. We can straightaway jump to the process.
- After collecting the fresh dill stalks, dust off the insects, or the bugs, if they are present insects’ presence is expected in case you are using the grown garden plants.
- Once you dust off the insects, you need to wash thoroughly. Rinse out every speck of dirt and soil from between the leaves and the seeds while ensuring that you are not damaging the leaves. Once the herbs are clean, press them in between two paper towels and slowly tap to soak the entire moisture.
- After this, place two layers of paper towel on flatware, which will easily fit inside the microwave oven. For making dry dill in microwave, you need to spread the leaves and the seed on the paper towel in a single layer. This will ensure that the heat is being spread out evenly across the entire flatware. Cover the plant parts using another level of paper towel.
- Set the microwave temperature to its lowest setting and then enter the dish into the appliance. Close the door and set the timer to thirty seconds.
- After the first thirty seconds, take out the tray and check whether the entire content has dried up or not. If the leaves or the seeds have not dried up, you need to re-enter the tray in the microwave oven for another thirty seconds. However, before reinserting the tray, make sure that you are mixing up the content so that the non-dried ones and the dried part can get uniform exposure to the heat.
- Once all the content gets dried, take out the tray and separate the seeds and the leaves. You can crush the seeds into a fine powder and then store both these two elements into separate containers having an opaque body. Do not leave the containers under direct sunlight or with an open lid. Dill drying in microwave saves time.
Air Hanging The Dill Stalks
The last method of how to dry dill is by drying the stalks by hanging them upside down in the air. Here is a detailed guide on how to carry on with this particular method.
- Wash the fresh stalks that you have either bought from the market or harvested from your backyard garden. Rinse under a tap and then remove all the dirt or loose insects from the leaves and seeds.
- Press these stalks between two paper towels and tap slowly to dry off the water. Once the water has dried off, you need to make bunches by tying a paper bag around the herb’s stems. Make sure you are making a few slits in the paper bag since you need to ensure that the air circulation is not getting disrupted. Also, with the slits in place, the inside temperature can be controlled, and hence, you can easily prevent the growth of fungi and molds.
- Now, hang the dills in an upside-down position to bring the paper bags to come in contact with the rope while the leaves dangle beneath it.
- You need to choose a place that gets enough warm air without an ounce of coldness. You can use your attic or the front patio, provided the place has a shed. It will take around two to three weeks for the drying dill seeds and leaves.
- Once the plant parts have become crispy, take out the paper bag’s stems and store them in a straight position inside an airtight container.
So, these are some of the best ways to dry dill. So, whenever you look for how to dehydrate dill, you can opt for any of these methods.
Health Benefits Of Dried Dill
In the previous section, we have learned several ways of how to dry dill at home by using tools you already have. Now, it’s time to understand the importance of the dried dill for your health.
- When you are drying dill from the garden you are merely taking out its moisture content. The nutritional profile isn’t hampered, and hence it acts almost similarly as the fresh dill would. As a result, you can easily enjoy the numerous vitamins and minerals present in the herb.
- Dill is a great source of Vitamin C or ascorbic acid, which is good in preventing scurvy and boosting your body’s immunity power.
- Another significant benefit of having dried dill in your home is the rich amount of antioxidants your body will get. These antioxidants will help you to fight any signs of early aging.
- Vitamin A present in the plant will help you to keep your eyes healthy. After all, retinol is mainly responsible for causing eye problems if present in a deficit amount.
Culinary Uses Of Dry Dill
After discovering the various methods of how to dry dill, you need to learn the culinary uses of the herb in your day-to-day lives. This will help you in understanding the utility of the herb clearly.
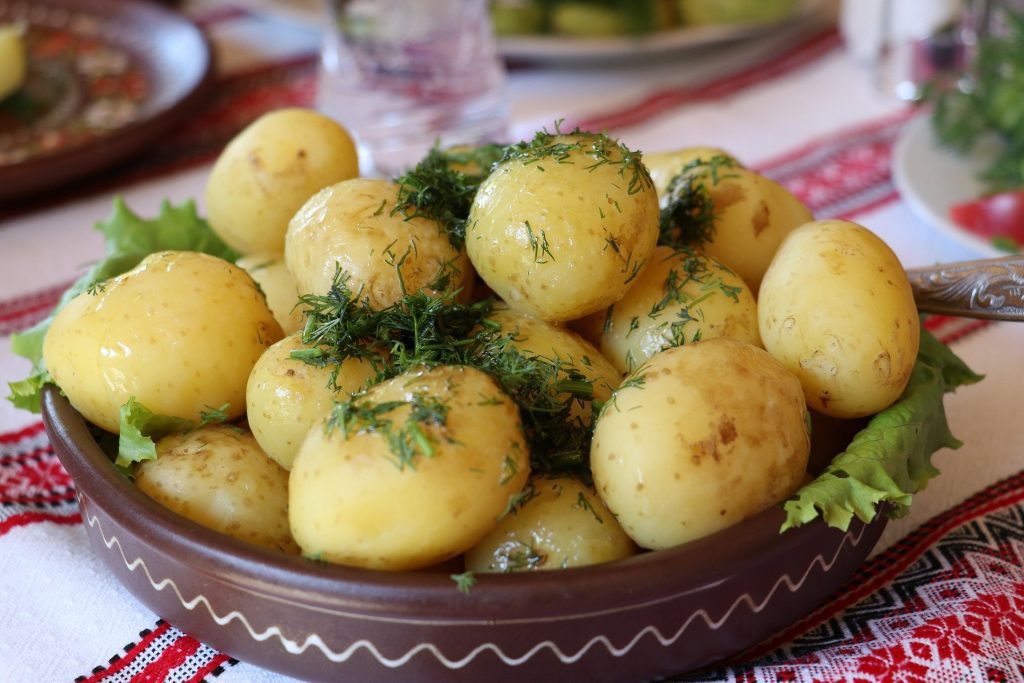
- You can add dried dill and some oregano, garlic powder, pepper, and salt as a seasoning for mashed potato or French fries.
- Since learning about how to dry dill has helped you a lot, you can now uplift your vegan seafood dishes with a little sprinkle of the herb over the dish.
- When you make tartar sauce or white sauce of creamy pasta or spaghetti dressing, you can use the dill powder and some other herbs to enhance the same flavor profile.
- People who love to make cheese in their homes can infuse the dill’s flavor into the cheese.
- To prepare roasted vegetables, rub olive oil over the pieces and then season them with dill powder, oregano, pepper, and salt.
- You can also infuse the dried dill’s taste into vinegar by soaking the leaves into the liquid overnight.
- Molten dill butter is a great way to use the herb for every breakfast toast.
Conclusion
From this entire discussion, now you know how to dry dill, use it during your cooking routines, and health benefits. So, now you won’t have any problem getting a bunch of fresh dill stalks and preparing for the drying method that seemed to be best for you.
Disclaimer – This content including advice provides generic information only. It is in no way a substitute for qualified medical opinion. Always consult a specialist or your own doctor for more information before making any dietary changes.