Hey there, lash lovers!
Are you dreaming of that epic lash drama? We feel you! But if the whole lash-curling process is giving you nightmares, fear not! It’s time to make friends with your new BFF — the eyelash curler.
Now, if you’re not exactly an eyelash-curling pro (totally cool, we’ve all been there), don’t worry. We’ve got your back!
Dive into our ultimate guide for using an eyelash curler like a boss.
Table of Contents
The Right Way To Use An Eyelash Curler
Discover the secret to captivating eyes with the perfect curl! This simple guide explains how to master the art of eyelash curling step by step.
Pre-Prep Stage
Step 1: Cleaning The Lashes
The first step involves cleaning your lashes and freeing it up if you have applied mascara or any eye makeup. The reason for this is it provides a clean base and prevents clumping which ultimately results in a hassle-free curling experience.
Step 2: Choosing The Right Curler & The Right Time
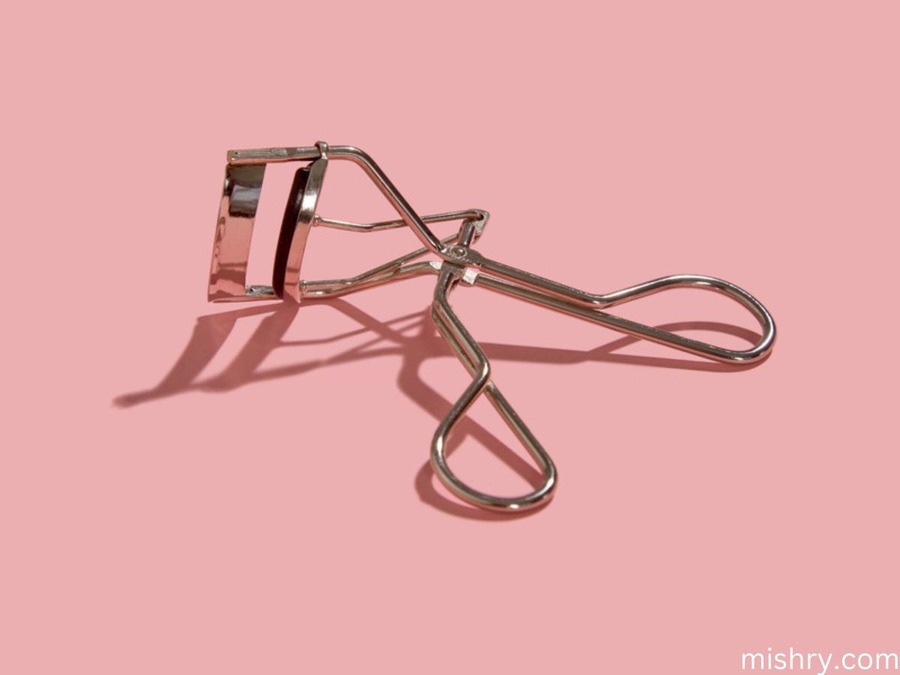
The second step is selecting the appropriate curler. Because eyelash curlers come in various shapes and sizes, choose one that complements the natural curvature of your eye and fits your hand comfortably.
Another crucial point to consider is the timing. Always curl your lashes before applying mascara as it can reduce potential lash breakage.
Step-By-Step Guide
1. Open The Curler
Start by opening the eyelash curler. The trick here is to hold the curler in a way that it fits comfortably in your hand.
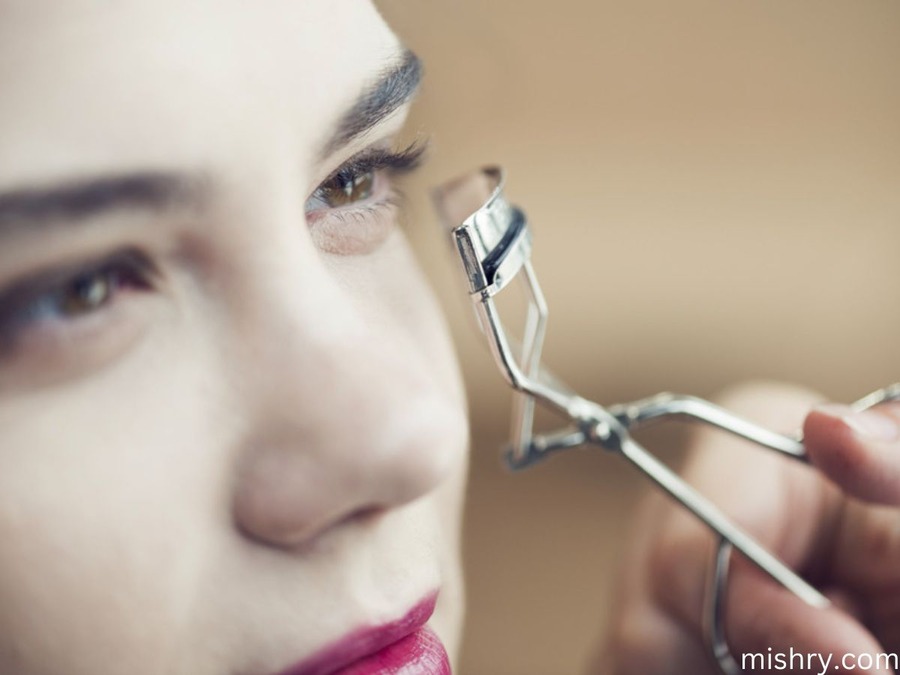
2. Correct Positioning
The second step is to position the eyelash curler. Position the curler at the base of your top lashes, as close to the lash line as possible without pinching your skin. The clamps should be aligned with your lashes and cover as much length as possible.
3. Gently Squeeze
Close the clamps softly to produce a gentle grip on your lashes. Avoid squeezing too firmly, as this could eventually cause damage and discomfort.
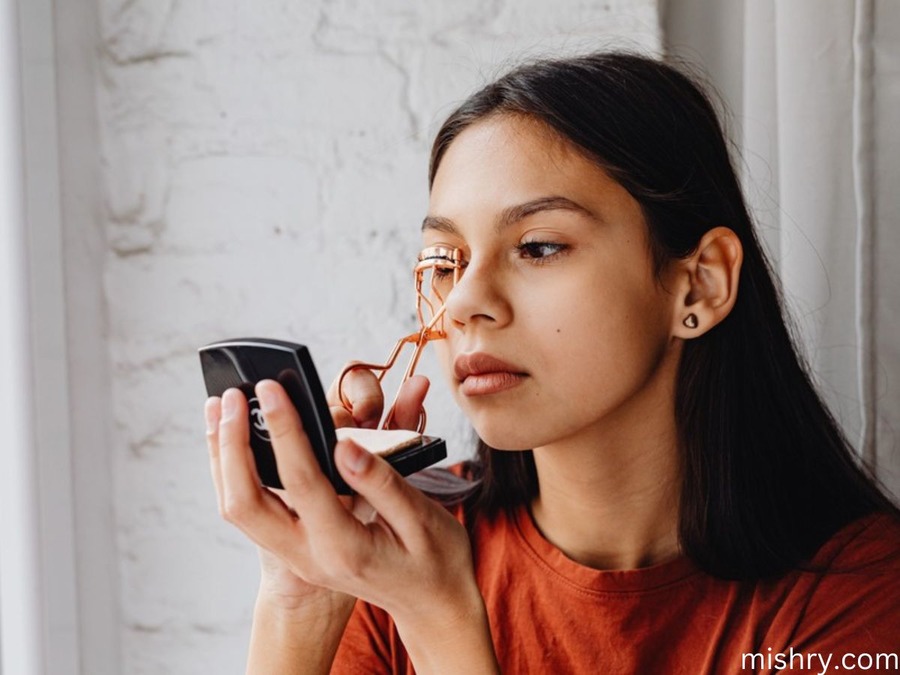
4. Hold The Curler
The next step is to hold the curler closed for 5 to 10 seconds. The heat from your skin will establish the curl with this hold. Finally, slowly and carefully remove the curler to reveal the beautifully curled lashes.
5. Lower Lashes
The final step is to curl your lower lashes, which is optional. You can also use a tiny eyelash curler or the same curler on your lower lashes if you choose. Be cautious to avoid unintentional pinching.
6. Application of Mascara
Apply your preferred mascara after curling to secure in the curl and create volume. Curled lashes combined with mascara provide a dramatic and wide-eyed look.
5 Valuable Tips For Curling Your Lashes
Take a look at these five insightful suggestions to learn how to curl your lashes for a striking, wide-eyed appearance.
1. Picking the Right Eyelash Curler
The initial key to achieving exceptional results is selecting a high-quality eyelash curler. Seek out a curler with a comfortable grip and a curvature that complements the shape of your eyes. Additionally, choose a curler with replaceable pads to guarantee optimal performance over time. Keep in mind that the right tool can significantly impact achieving a natural and enduring curl.
2. Curl Before Applying Mascara
To achieve optimal results, curl your lashes before applying mascara. Curling after applying mascara can result in clumping and damage. Begin with clean, dry lashes and place the curler as close to the lash line as possible.
3. Perfect Your Technique
The proper technique is necessary to achieve a beautiful curl. The eyelash curler should be opened and positioned at the root of your lashes to start. For a few seconds, hold the curler stable and softly squeeze. If desired, release the curler and move it outward along the lashes. Take care not to pull or tug too hard as this could damage your lashes.
4. Examine various Curling Times
Different lashes may require various curling times for best outcomes. Try varying the length of the squeezes to get the right length that suits your lashes. Should your lashes remain unruly, consider using the curler for a few extra seconds to get a more pronounced curl.
Frequently Asked Questions
Here are some interesting FAQs on how to use an eyelash curler.
1. Can I use eyelash curlers on false lashes?
Yes, using eyelash curlers on fake lashes is usually safe. To prevent hurting the artificial lashes or causing discomfort, care should be used. As soon as the fake lashes are firmly in place, apply a gentle eyelash curler to softly curl your lashes without pulling or tugging too much.
2. Is it safe to curl my lashes everyday?
Regularly curling your lashes could do harm. To avoid breaking your eyelashes, it’s best to curl them occasionally and gently.
3. Is it necessary to use an eyelash curler in my makeup routine?
It is not always essential to use an eyelash curler in a beauty routine; it depends on your personal preferences and the look you wish to achieve.
Conclusion
In conclusion, mastering the art of using an eyelash curler can up you lash game effortlessly. Following the above steps you can be sure that you achieve the perfect lashes every time. Make sure to incorporate the use of this simple tool in your makeup routine and transform your look from ordinary to extraordinary.